When I started researching adobe construction tropical climate approaches before we broke ground at Rancho de las Estrellas, I read a lot of books. Most of them were written by or for people building in dry climates — the American Southwest, the Oaxacan highlands, the arid parts of Mexico where adobe has been used for centuries without drama. I took notes. I thought I understood what we were getting into.
I did not fully understand what we were getting into.
This is not a complaint. We’ve built with earth on this land and I believe in it. Adobe is the right material for this place — thermally, ecologically, and aesthetically. But the coast near Lagunas de Chacahua is not Oaxaca City. The air is wetter. The rains are more intense. The heat doesn’t release the way it does at elevation. Each of those differences has design implications that the standard texts underemphasize or skip entirely.
Here are five things that genuinely surprised me. I’m not writing this to warn people away from adobe. I’m writing it because I wish someone had told me these things earlier.
Moisture management is everything — and the books undersell it
In a dry climate, adobe is forgiving. Moisture-related failures are slow, visible, and usually recoverable. Near the Pacific coast of Oaxaca, moisture is not a background consideration. It is the central engineering challenge.
We’re talking about three-meter-plus rainfall over a wet season that runs from May through October. That water hits hard, runs off fast, and infiltrates from below if your foundation isn’t right. The two moisture failure modes we had to design against — and in one case learned about the hard way — were plaster failure and capillary rise.
Capillary rise is the process by which groundwater wicks up through the base of an earth wall. In a dry climate it’s a known issue, manageable with a raised stone or rubble foundation. Here, we needed to be more deliberate: a proper rubble trench foundation, a damp-proof course, and a foundation height that kept the base of the adobe above any surface water line. Not complicated in retrospect. But I didn’t have it clearly in my head when we started.
The other thing on moisture: lime plaster, not cement. I had to be talked into this by someone with more experience. Cement looks solid, but it doesn’t breathe. It traps moisture inside the wall and the wall fails from the inside out. Lime plaster is more forgiving, more vapor-permeable, and actually more appropriate for earth construction. Apply it in multiple thin coats rather than one thick one, and let each coat cure properly.
Thermal mass works differently near the coast
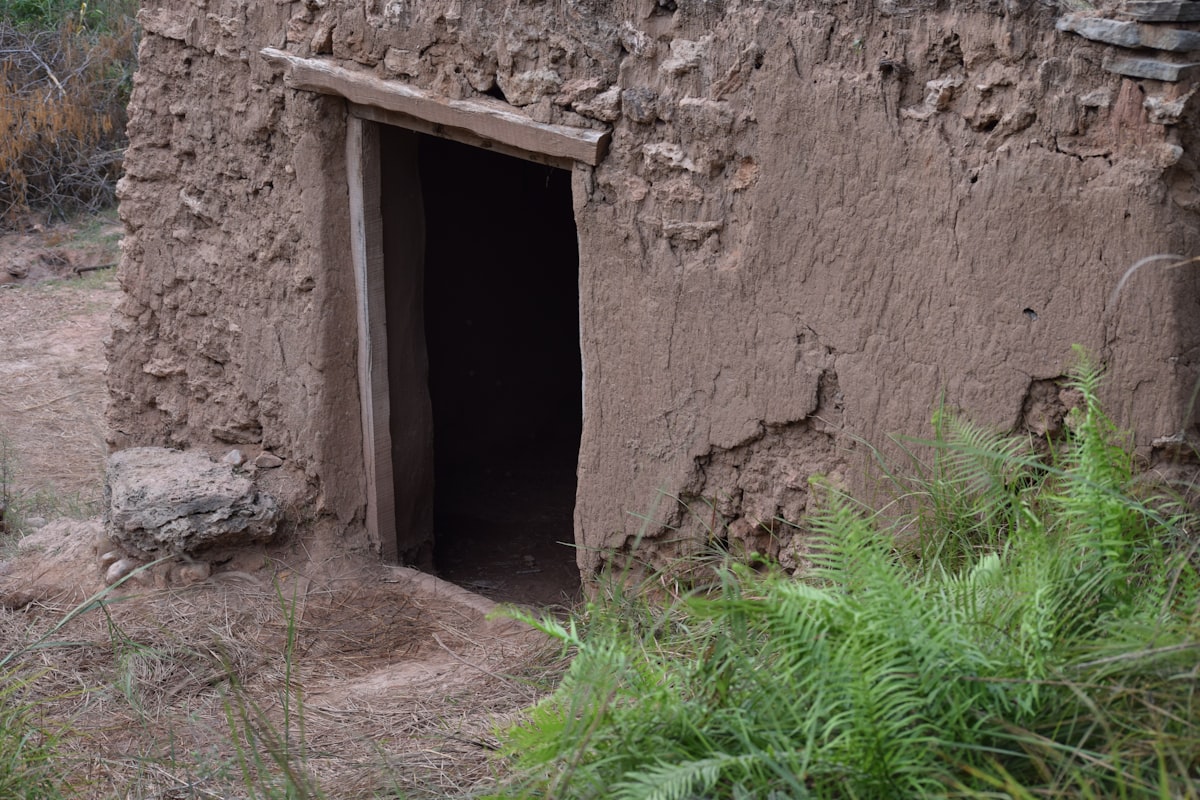
This was the surprise that most affected our design thinking. Adobe’s main thermal argument is the flywheel effect: the wall absorbs heat during the day and releases it slowly at night, moderating temperature swings. In the dry highlands, nights can drop twenty degrees Celsius from the daytime peak. The flywheel has a lot of room to discharge.
On the coast, the nights are warmer. In the wet season especially, nighttime temperatures stay in the mid-to-upper twenties. The wall absorbed heat all day and now it’s releasing it into an already-warm night. The flywheel doesn’t fully unload.
This doesn’t make adobe the wrong choice — it makes high ceilings and cross-ventilation the non-negotiable partners of adobe in this climate. Thermal mass moderates the temperature swing. But on the coast, you can’t rely on it alone to create comfort. You need air to move. We went with higher ceiling heights than we originally planned, larger openings on opposing walls, and roof designs that promote stack ventilation. The adobe handles the peak heat buffering. The ventilation handles the overnight flush.
Finding the right clay took more testing than I expected
Not all earth is the same, and finding a local source with the right clay content — somewhere in the range of twenty to thirty percent, with the rest being sand and silt — required actual work. We dug test pits in several locations on the property and ran simple field tests: the jar test, the ribbon test, the drop test. A couple of sources were too sandy. One was too clay-rich and cracked badly during drying.
This is well-documented in the adobe literature, but I underestimated how much time it would take. We made test bricks — proper 20x10x10cm bricks, cured in shade, tested for compression — before committing to a source. We broke a fair number of bricks and one full test wall before we had a mix we trusted.
The silver lining is that we found a good source not far from the build site. Hauling material long distances for earth construction defeats part of the point. The right mix was on or near the land. It just took patience to find it.
The first wet season will test your plaster — or destroy it
I watched a test wall fail during our first wet season. We had applied a plaster coat that wasn’t fully cured when the rains arrived, and the water found the weaknesses fast. By October, we had a section of wall with deep erosion channels and one corner that had to be rebuilt.
The lesson was simple and I should have absorbed it more fully before we started: plaster applied in the wrong season, at the wrong thickness, or over a coat that isn’t ready, will fail. Full stop. The wet season here is relentless enough that a compromised plaster is not going to survive it.
The fix is patience and process. Work in the dry season when you can. Apply lime plaster in thin coats — three coats minimum, with proper cure time between each. The final coat takes the longest to cure and is the one most people rush. Don’t rush it. And make sure your roof overhangs are generous enough to keep rain off the top of the wall, which is where erosion starts.
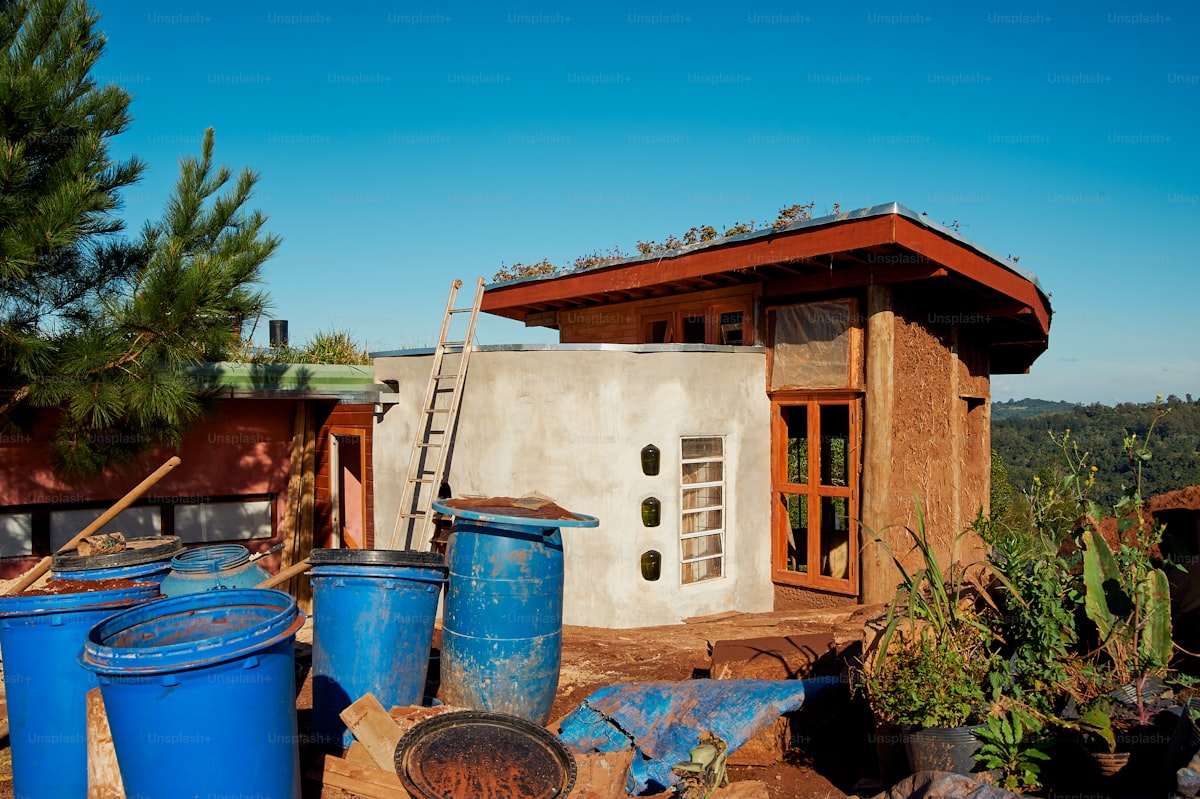
Local masons know things that aren’t in any book
This is the thing I’m most glad I learned, even if it took a while. There are masons in this region who have worked with earth their entire lives. Adobe and rammed earth are part of the vernacular construction tradition on the Oaxacan coast, and that tradition carries a kind of compressed knowledge — about which soils behave well, about how to read cracks in a drying wall, about the rhythm of wet season and dry season as they affect the build schedule — that no text has fully captured.
We found some of those people. The conversations I’ve had with local builders have shaped our approach more than anything I read before we started. They pointed out things in our first test walls that I wouldn’t have noticed for weeks. They told us which plaster additives work in this specific humidity. One builder walked our soil test pits and told us within minutes which source was worth using — based on feel and color, not a jar test.
I came to this project thinking that expertise was something I could download by reading. In earth construction in a tropical climate, the expertise lives in the hands of people who have been doing it here for a long time. The most valuable thing we did was find them and actually listen.
If you’re thinking seriously about building on the land at Rancho de las Estrellas, our build page gets into more of the specifics — the approaches we’re using, what we’ve learned, and what’s possible for people who want to build here. If you want to understand the larger project before thinking about construction, the vision page is the right starting point. Earth construction on the coast is demanding, and it’s also genuinely worth doing. We’re still at the beginning of figuring out how to do it well.